
NEW EXCLUSIVE GUIDE: "Your mall mapped for maximum revenue" ➡️


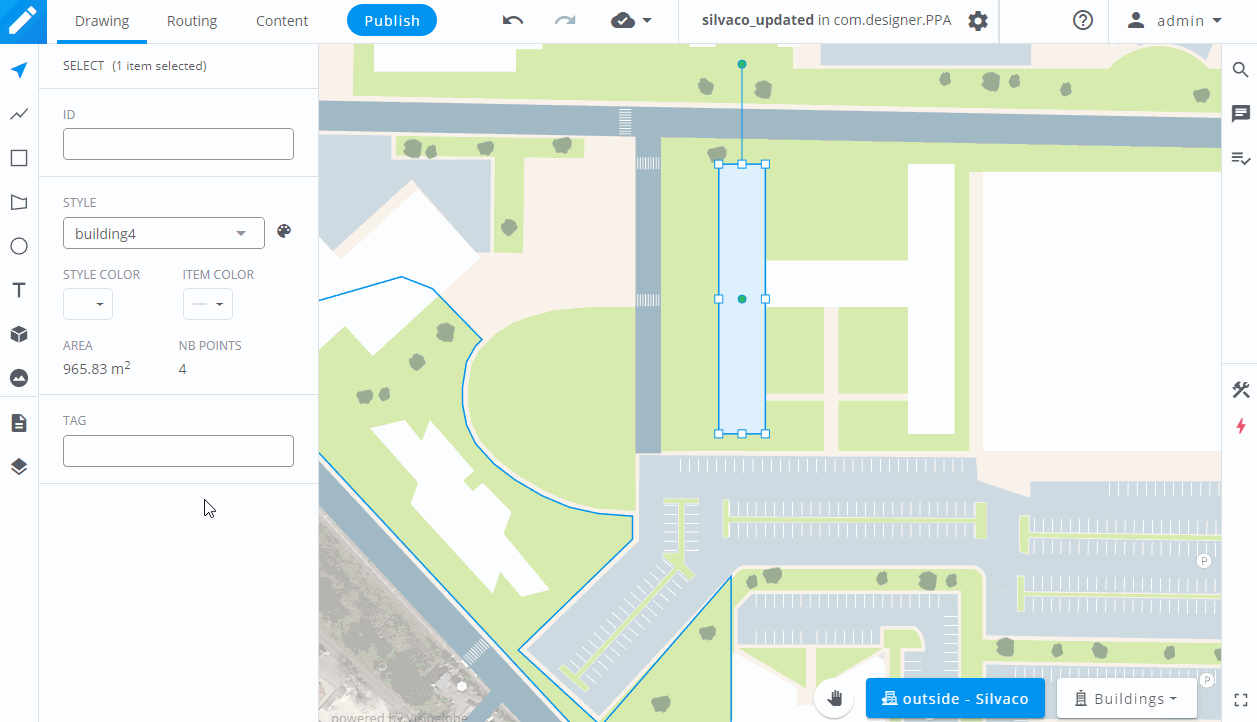
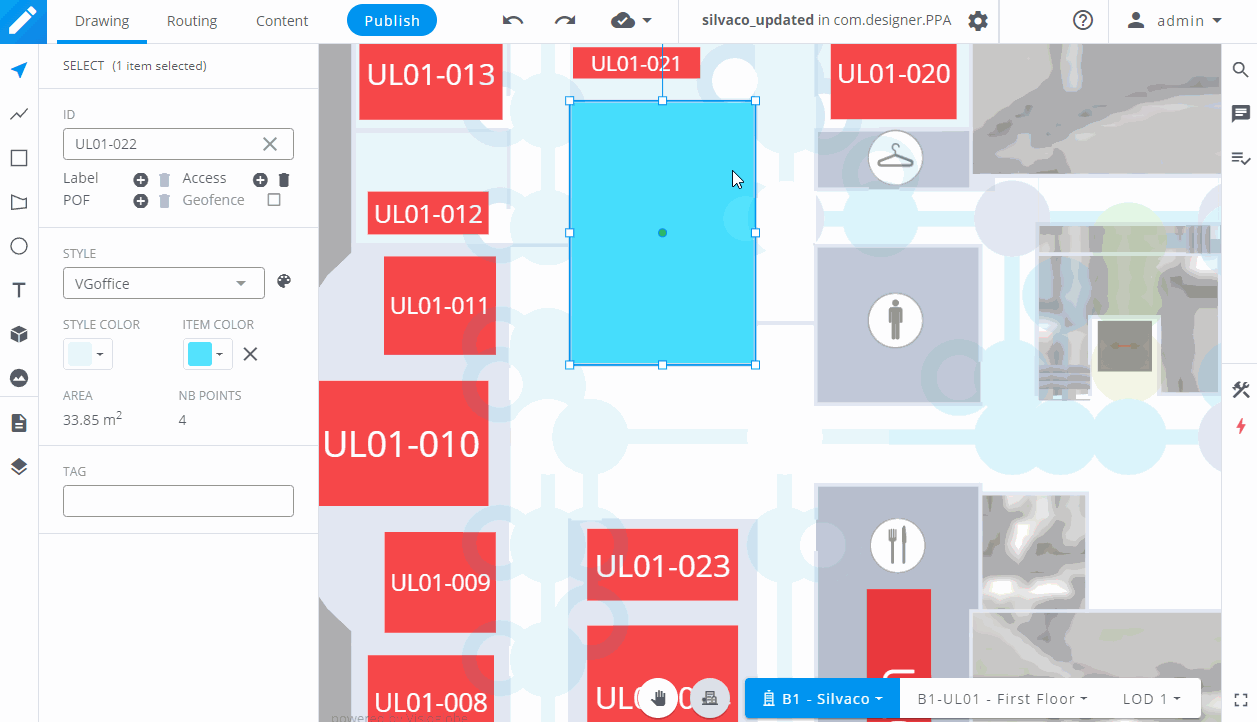
The select tool allows you to select an element on the map and to edit its properties. Depending on the type of element you select (surface, icon, text), you will access different types of properties.
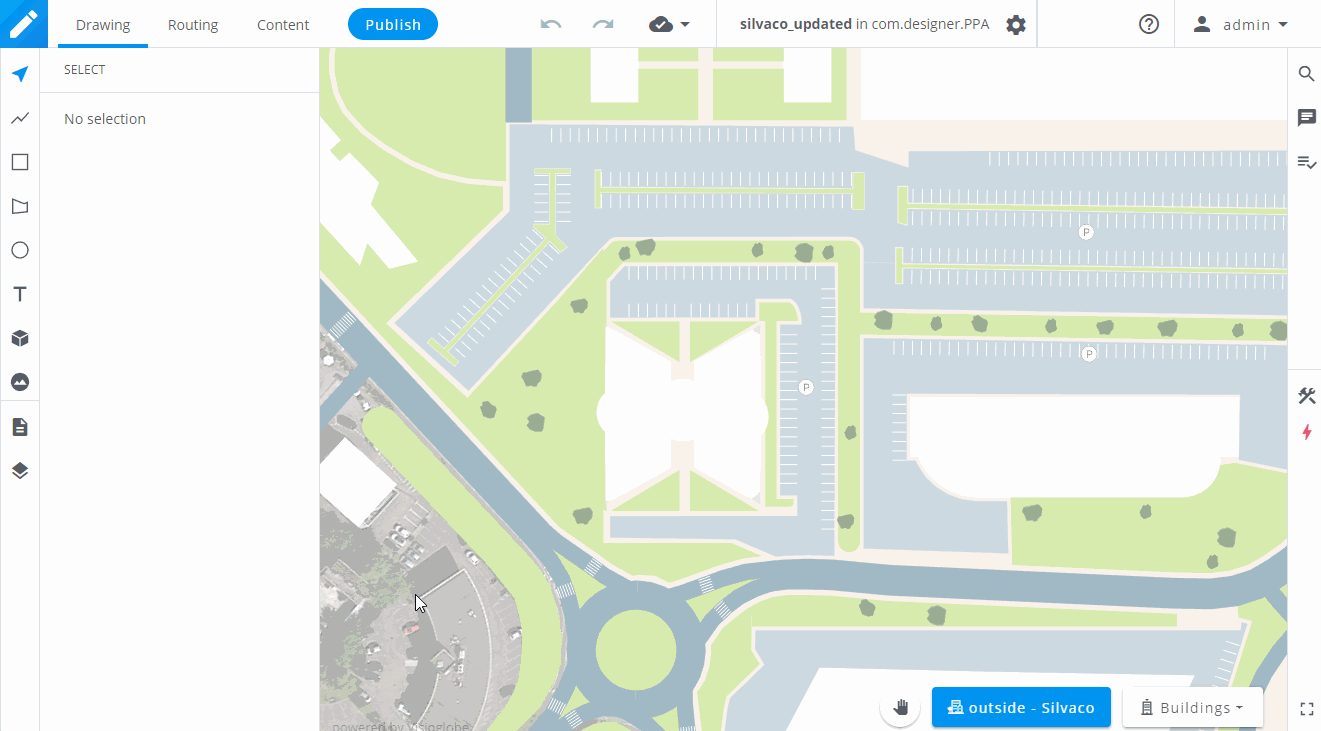
Hold and drag Left click : Creates a selection box.
Shift + Left click : Allows you to select multiple elements.
CTRL + Left click : Allows you to cycle through stacked elements.
Double left click : When double-clicking on a polygon, you enter polygon edit mode.
No matter which tool you are using, you can choose a style and an item color before creating the shape.
When using the stroke tool, each click will create a new point. Double left click or hit Enter to validate the creation.
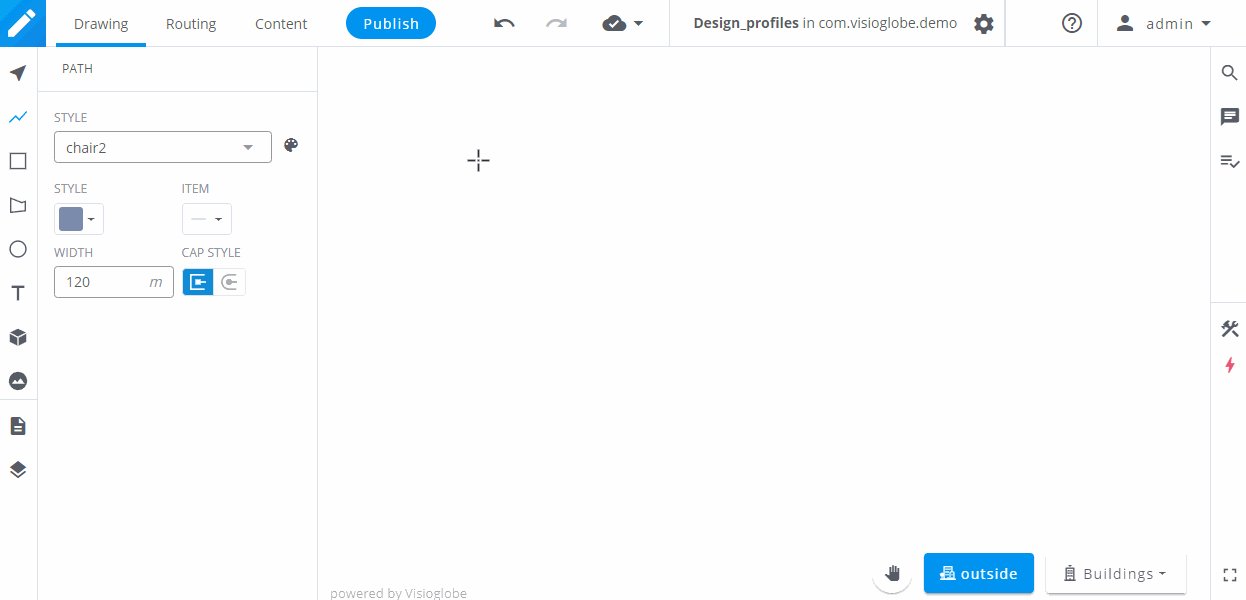
Shift Will constraint your stroke to the horizontal and vertical axis, as well as a 45° angle.
Enter After you started creating a stroke, hit enter to create a new point under your mouse cursor and validate the creation.
Escape After you started creating a stroke, hit escape to cancel the creation.
Backspace After you started creating a stroke, hit backspace to cancel the last point you added.
When using the square tool, click and drag to create a new shape.
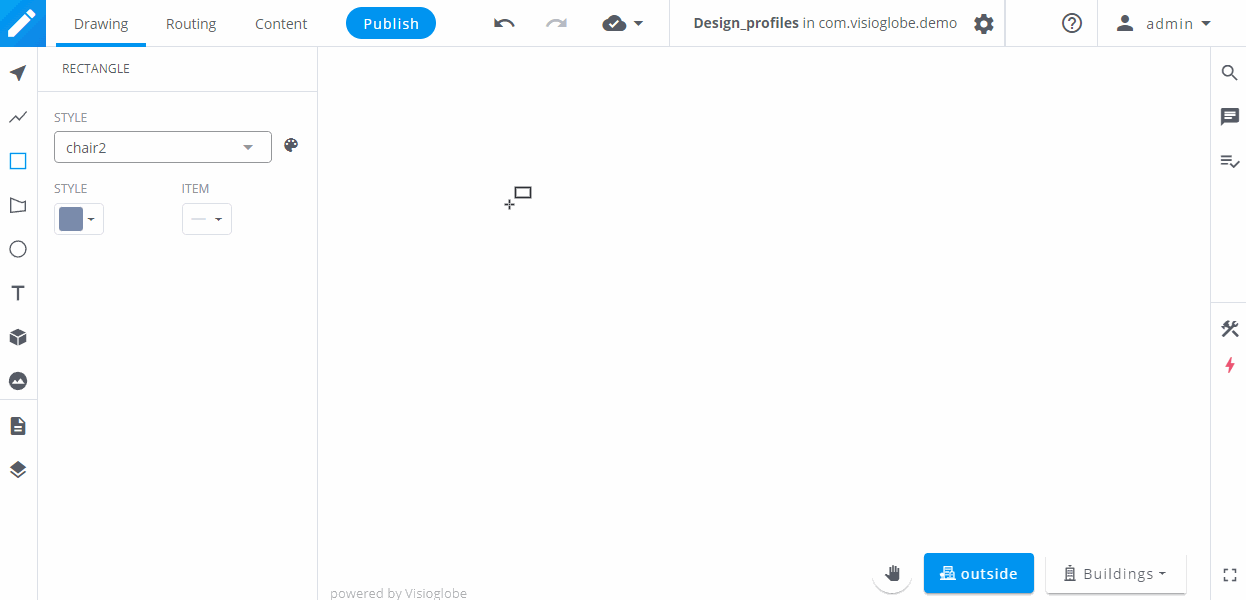
Shift Maintaining the shift key when creating a rectangle will constrain it to a 1:1 ratio, making it a square.
When using the polygon tool, each click will create a new point. Double left click or hit Enter to validate the creation.

Shift Will constraint your side to the horizontal and vertical axis, as well as a 45° angle.
Enter If your polygon has at least two points, hit enter to create a new point under your mouse cursor and validate the creation.
Escape Hit escape to cancel the polygon creation.
Backspace Hit backspace to cancel the last point you added to your polygon.
When using the circle tool, click and drag to create a circle.
When you create a circle, you actually create a polygon. If you wish to ensure a high resolution polygon to create a smooth circle, create a large one and then resize it to your need.
To create a text legend, type your text beforehand in the Add text field.
Then, hold the left click and drag it to create your text legend.

The green box will not be visible in your final application. Its role is to define the space that your text will be allowed to fill. It also helps to distinguish texts from labels.
📄 Read more about the differences between texts and labelsTo edit a shape or an element, start by selecting it with the selection tool.
You can change the Style color or Item color of an element.
If you change the style color, the color of every item with the same style applied will be changed. If you change the item color, only the selected element will have its color updated.
When you select a polygon (circles are also considered as polygons in VisioMapEditor), you can edit its points by double-clicking on it, or by right-clicking to display the contextual menu. Then, click on the icon.
Each point of the polygon is represented by a white circle and is now movable. To move a point, simply click and drag it. To add a new point, click on the low opacity white circle located between two existing points. This will create a new point for you to drag and position as desired.
To exit the polygon edition mode, simply double-click again or hit escape.
To see the contextual menu, right-click on the drawing area. Depending on which tab you are in, different tools will be available to you.
In the drawing tab, the most common operations are :
You can also use the alignment tools with the "Align" drop down menu, or make a complex selection to select items with the same color, style or using the same images.
The split operation allows you to cut a shape following a line you draw. It is commonly used to create two rooms out of one shape.
You can change the width of the splitting line to create a gap.
Important: when using the Split tool, always start by clicking outside the surface. Draw your split line, and make sure to end it outside the surface as well before validating.
To end your operation, click on the Split button or simplydouble-click
To cancel your operation, click on the Cancel button or hit Escape on your keyboard.
Shift Will constraint your splitting line to the horizontal and vertical axis, as well as a 45° angle.
Backspace After creating a splitting line, hit backspace to cancel the last point you added.
The merge operation allows you to merge multiple surfaces together.
Increasing the merging Threshold will allow you to fill the gap between two surfaces.

The Shape Maker is an advanced tool that allows you to create a complex shape out of multiple shapes. To use it, you must select at least two overlapping shapes.
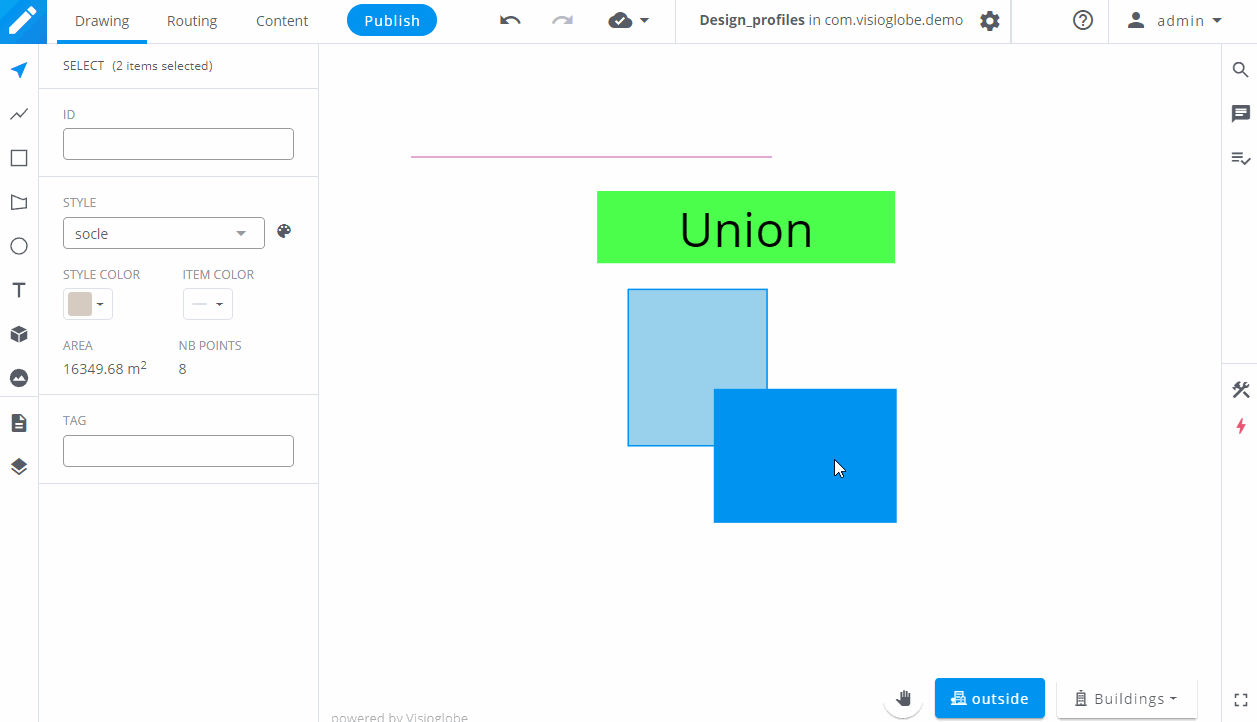
Union Will merge the two overlapping shapes.
Substract The last selected shape will be used to cut the first selected shape.
Intersect Only the overlapping part of the selected shapes will be kept.
Exclude Only the parts that do not overlap will be kept.