
NEW EXCLUSIVE GUIDE: "Your mall mapped for maximum revenue" ➡️


The venue layout refers to the structure of your map. It allows you to manage the buildings and the floors of your venue.
To edit the venue layout, click on the "Cog" icon next to your map's name on the top of the screen, then click on "Venue layout".
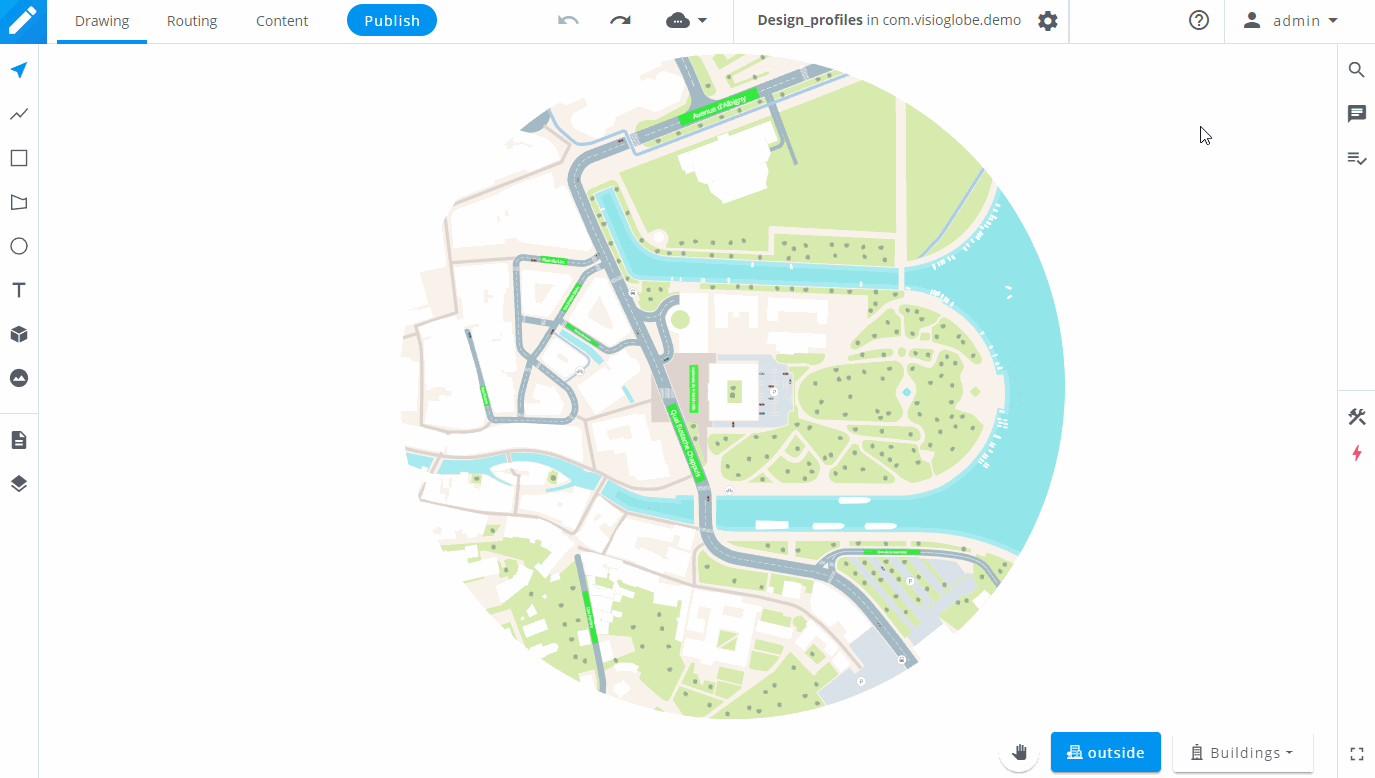
In the left part of the dialogue window, you can manage your buildings and the outside of your venue.
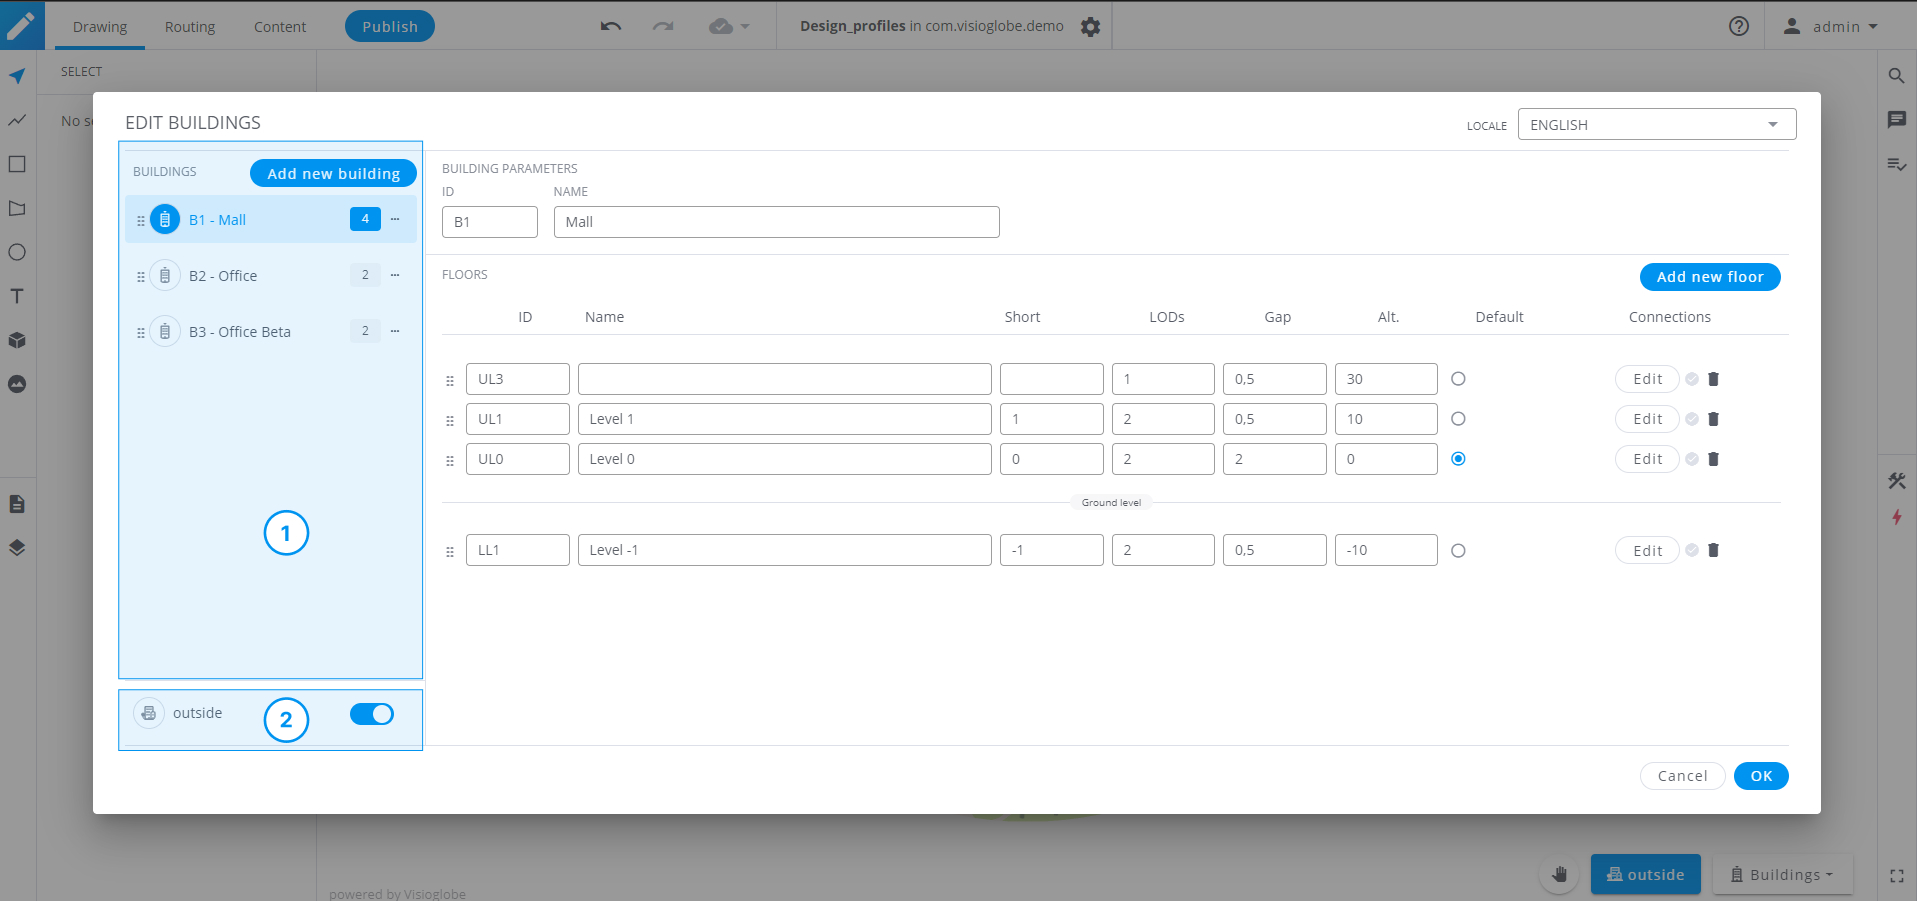
Once you have selected a building, you can use the right part of the dialogue window to edit its structure and parameters.
Floor ID A functional piece of information that will be used by the SDK. It cannot contain any characters other than alphanumeric characters.
Name & Short Will be displayed in the floor selector of your application.
LODs This feature enables the display of different sets of information based on the distance from which you are viewing the map. When viewing a floor, the LOD0 of the floor underneath it will be displayed, giving the map a stacked floor look. It is recommended to use only two LODs: one to display all the information (LOD1), and the other to give the stacked look (LOD0)
Gap This allows you to manage the distance between each floor.
Altitude The altitude is set by default (in 10 meters increments). You can choose to override these default value, but be careful when reordering floors afterward, since the altitude will not be automatically adjusted.